Sunday, April 28, 2013
Sunday, April 21, 2013
Size 16 to Size 8 Refashioned Blouse
Hi Everyone!
A few months ago, I found this size 16 beauty at my local "Goodwill" thrift shop. It was not my size but I could picture a great blouse when I saw it. I was careful to check it out from top to bottom. The biggest thing about purchasing white shirts it to make sure there are no yellow underarm stains. You want gently used or preferably unused.
I must tell you that this blouse gave me quite a struggle. I was going to go with set in sleeves but I kept playing with them and this cap puffed sleeve is what I finally ended with. At one point I was ready to put this on the blooper pile but I never gave up!
A few months ago, I found this size 16 beauty at my local "Goodwill" thrift shop. It was not my size but I could picture a great blouse when I saw it. I was careful to check it out from top to bottom. The biggest thing about purchasing white shirts it to make sure there are no yellow underarm stains. You want gently used or preferably unused.
![]() |
| Size 16 and frumpy, but I see potential. |
![]() |
AFTER |
I must tell you that this blouse gave me quite a struggle. I was going to go with set in sleeves but I kept playing with them and this cap puffed sleeve is what I finally ended with. At one point I was ready to put this on the blooper pile but I never gave up!
Following is the tutorial:
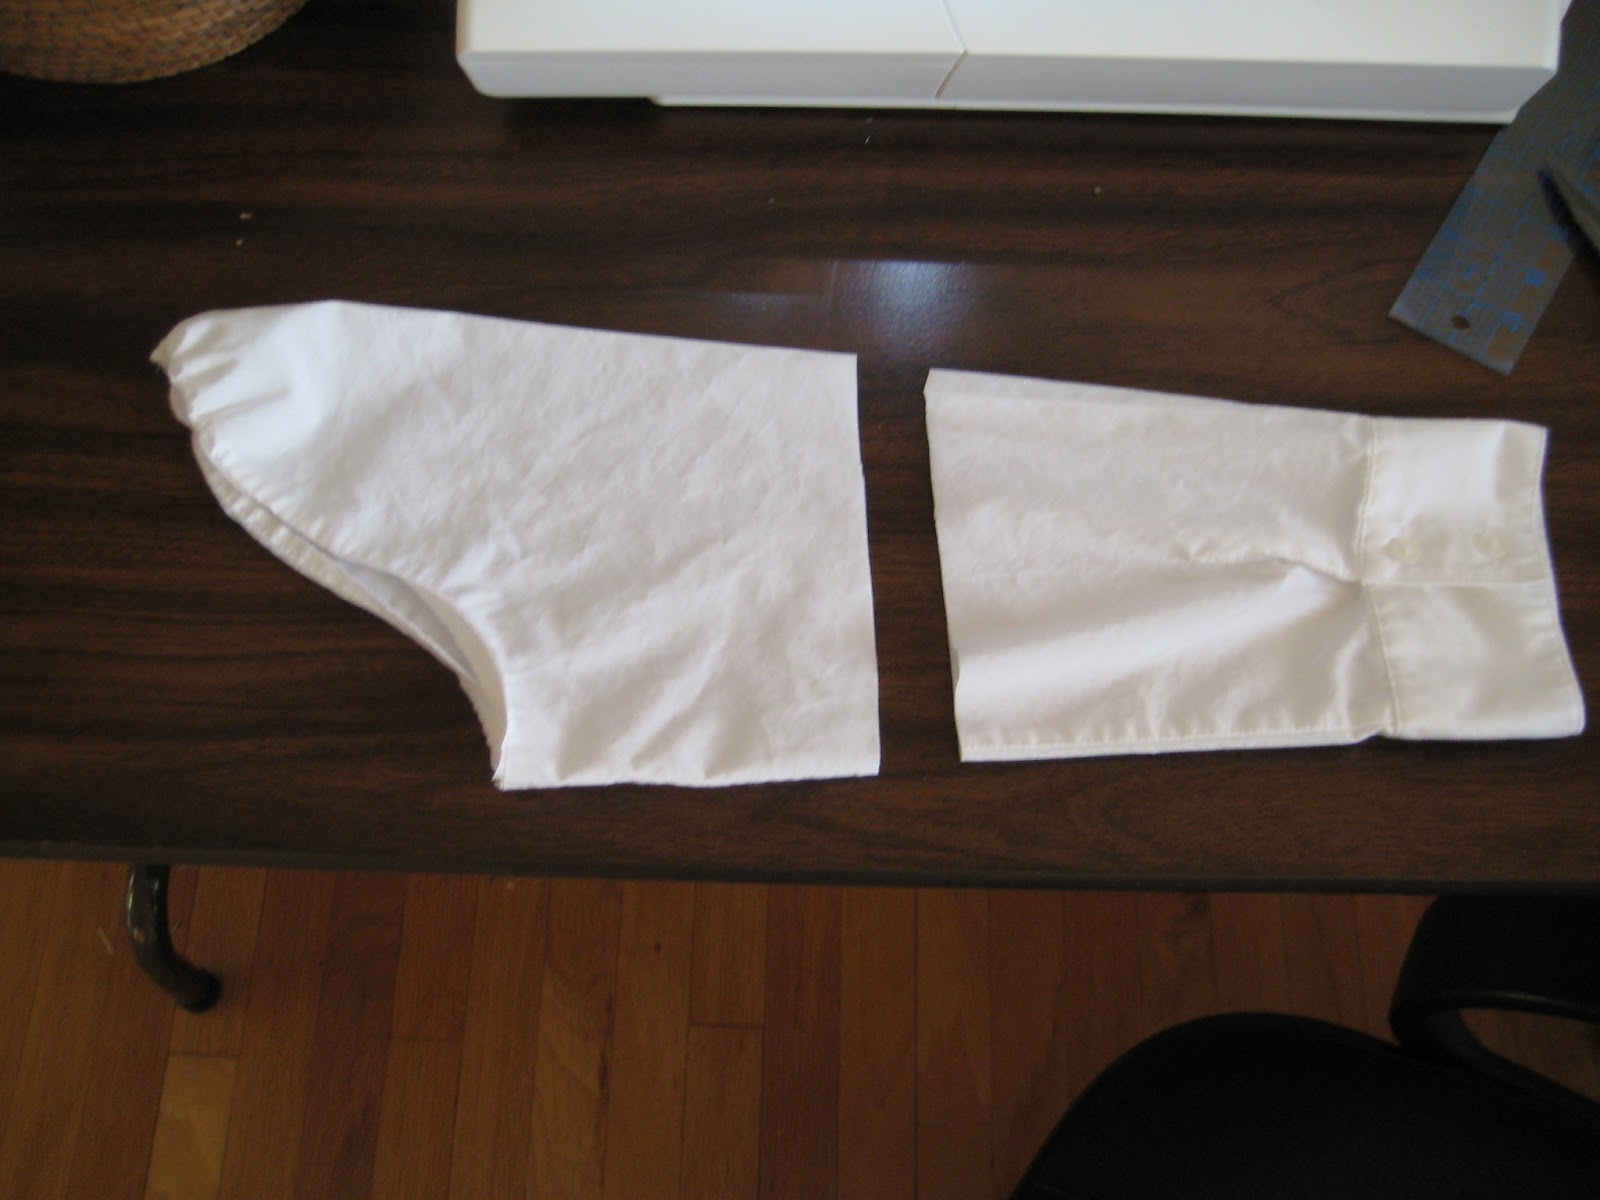
Cut off the sleeves
Pin size changes on the side seams. Make sure to check the fit.
Cut a short sleeve from the old sleeve |
![]() |
Gather the cap of the sleeve and reset to the desired length |
I struggled with it for a while but then ended up changing it to a capped sleeve. Resetting any sleeve takes time and patience. |
Wednesday, April 10, 2013
Lace Dress Refashion
Hi Everyone!
I coveted this look for quite a while but could not even think of buying it new. The lace tunic pictured was $238 retail. Yikes!
Finally, the perfect dress appeared at "Goodwill." I had to pay $7.99 for it but I was sure I could make it work. Remember, this is LA and even Goodwill is expensive! I liked the fact that this lace had a stripe pattern. I don't like lace to come off as "wedding" or look like a tablecloth or curtains.
BEFORE
AFTER! I am trying to loosen up a bit with the modeling thing LOL!
I think I achieved the look. Don't you?
THE LACE PATTERN
1. I started by cutting off the bodice and making a square panel and sleeves. My plan was to make a boat neckline. After studying the shape and the way the fabric fell over the form,I quickly decided to get rid of the sleeves. The new plan was to add lace edging to the armhole edges and the bottom hem. I found the perfect lace at the bottom of my "Bag O Trims." The lace I used was one that I bought back in 1990 to use refashioning my wedding dress. (You'll see that post in May for my anniversary).
2. I took the large rectangle and pinned shoulder seams and neck opening. I basted these together by hand first, then carefully stitched them down.
3. I carefully sliced both sides of the fabric for the armhole.
4. The next step was to pin and hand baste the trim around the armholes. I folded over the edge of the trim to encase the lace and automatically finish the inside edge.
5. Once the lace was set I sewed it down outward toward the sleeve.
6. The hem was easy. I just topstitched the lace over the edge. No turning edges here.
Hope you like this one. I paired it with a tank underneath and my accessories are very similar to the picture. I don't think I will wear this as a swimsuit cover. the lace is much too delicate.
I love to hear your comments. Let's dish!
Mary
Monday, April 1, 2013
70's Style Tunic Refashion
I purchased this for a whopping $3.99 at "Goodwill."
The tags were still on and it had never been worn! Retail value $32.00
BEFORE
This garment was a size large, :( but it was from a junior manufacturer. This means it was not meant to fit a 53 year old mother of two LOL!
My solution? Add some gussets on the sides. That gave my curvy hips more room while giving the illusion that I am a little skinnier. Love the magic of color blocking!
I have paired it with my retro bell bottoms ($9.99 from "Old Navy") and a necklace I made myself. (See below) The purse is a long ago purchase. I can't even remember the price or where I got it, but it is a denim friendly shade of blue and a basic barrel style. The boots are the brown version of what I like to call my "faux stillettos."
AFTER
Check out the accessories and the tutorial below
Necklace of my own design made from an old bracelet, chain, and a variety of of blue white and clear beads.
Friday, March 29, 2013
Shrug+ Chiffon =Sweater Refashion #3
This
refashion all started when my friend Shannon came to work in a beautiful pink
sweater with a high low hem that had a surprise in the back, a beautiful
coordinating chiffon print floral.
It started me thinking how I could refashion sweaters using chiffon. Hmmm!
I
had this basic black shrug sitting in my closet that I never wear anymore. This was my most likely subject to try
something…but what?
Enter
this chiffon nightmare and then came the idea! Why not combine the two? I knew it would work when I saw it.
Here is the result of the mix! The tutorial follows right after.
After
First I cut off the sleeves of the chiffon top making sure to leave enough to fold over and finish the insides.
Pin the front and back to the chiffon blouse. Luckily, the lines of these 2 garments matched perfectly!
Sew the edges down, cut off the button, sew up the buttonhole, and I am almost done!
The last step is to baste and finish the inside sleeves to the seams of the sweater.
I love the outcome! When I wore it to work and out on my errands for the day, I had so many compliments. Refashioning is a passion and an addiction. I just love it! I have not shopped in the mall since, well, I can't remember the last time.
Over spring vacation I want to hit some thrift stores further away like Burbank and Huntington beach. I need more subjects for my fashion laboratory! FUN :)
Happy Easter and Happy Sewing and Refashioning!
Mary
First I cut off the sleeves of the chiffon top making sure to leave enough to fold over and finish the insides.
Pin the front and back to the chiffon blouse. Luckily, the lines of these 2 garments matched perfectly!
Sew the edges down, cut off the button, sew up the buttonhole, and I am almost done!
The last step is to baste and finish the inside sleeves to the seams of the sweater.
I love the outcome! When I wore it to work and out on my errands for the day, I had so many compliments. Refashioning is a passion and an addiction. I just love it! I have not shopped in the mall since, well, I can't remember the last time.
Over spring vacation I want to hit some thrift stores further away like Burbank and Huntington beach. I need more subjects for my fashion laboratory! FUN :)
Happy Easter and Happy Sewing and Refashioning!
Mary
Sunday, March 17, 2013
Thrift Shop Slip Dress to Refashioned Maxi Skirt!
Hi Everyone!
I know it has been a few weeks, but once again it has been report card time! Finishing report cards is an exhausting, time consuming process. But...Fear not! Report cards are finished, and I have been squeezing in precious moments to sew and refashion. I just haven't had a moment to put it all together for you until now. Take a look at my latest before and after...
BEFORE
A rayon slip dress with a great pattern! I just zipped off the top and made a foldover 3/4" elastic waist.AFTER |
Sunday, February 24, 2013
Sweater Refashion #2
Hi Everyone,
I had such fun with the last sweater refashion that I had to do another. The biggest problem with this refashion was that I accidentally trashed my picture of the BEFORE and I was already too far into the refashion to go back. Check out the transformation and the final product below.
At this point you can still see the BEFORE. It was a never worn, 100% cotton sweater that cost me $4.99 from Goodwill. It had long sleeves, a button front, and a fold over lapel collar. Very boring!
I wanted to make it into shaped cardigan with a scalloped edge and 3/4 sleeves.
So, I purchased some cotton lace in a matching color and applied it to the sweater with a chain stitch. Once the lace was set, I used the serger to take off the excess and crocheted down the raw edges from the inside to give it a finished look inside and out. I also shaped the side seams to fit using the same technique.
Here it is before I cut off the sleeves.
Here it is finished! I am really happy with the way it turned out and I am ready for more...
I would love to hear your comments.
Happy Refashioning!
Mary
I had such fun with the last sweater refashion that I had to do another. The biggest problem with this refashion was that I accidentally trashed my picture of the BEFORE and I was already too far into the refashion to go back. Check out the transformation and the final product below.
At this point you can still see the BEFORE. It was a never worn, 100% cotton sweater that cost me $4.99 from Goodwill. It had long sleeves, a button front, and a fold over lapel collar. Very boring!
I wanted to make it into shaped cardigan with a scalloped edge and 3/4 sleeves.
So, I purchased some cotton lace in a matching color and applied it to the sweater with a chain stitch. Once the lace was set, I used the serger to take off the excess and crocheted down the raw edges from the inside to give it a finished look inside and out. I also shaped the side seams to fit using the same technique.
Chain stitch application
Here it is finished! I am really happy with the way it turned out and I am ready for more...
I would love to hear your comments.
Happy Refashioning!
Mary
Subscribe to:
Posts (Atom)